Managing parties is an essential part of collaborating on Cloudpermit applications. Applicants can invite stakeholders to participate, assign one or more roles, and control what each party can do within the application by granting additional permissions.
Add Parties to an Application
All stakeholders can access the Parties to the Application section within the application workspace. From here, applicants can invite new participants, assign roles, and manage existing parties.
Invite a Party by Email
1. Navigate to Parties to the Application. Click Open.

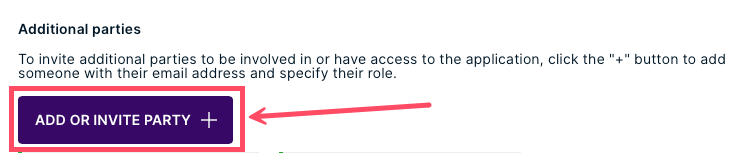
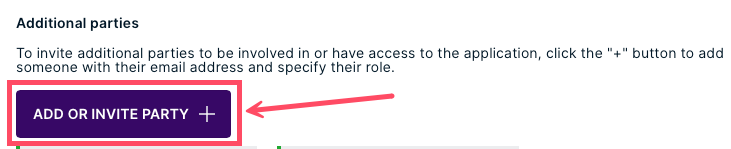
2. Under Additional parties, click Add or Invite Party.
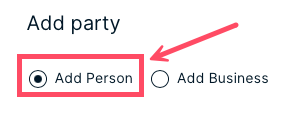
3. Select Add Person or Add Business.
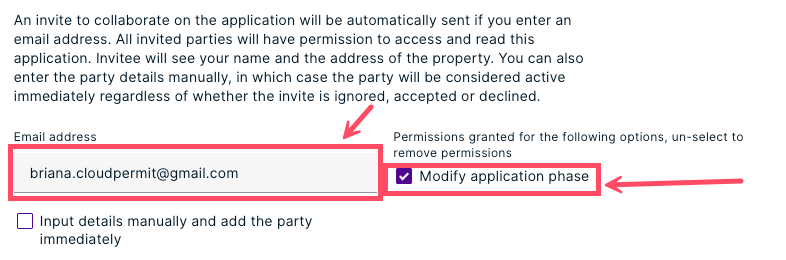
4. Enter the invitee’s email address. Check/uncheck the box beneath Permissions granted for the following options, un-select to remove permissions.
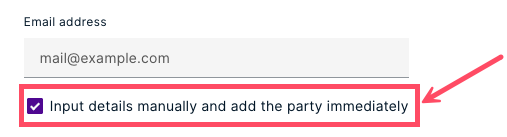
a. Note: If you have the invitee’s information, you can check the box beside Input details manually and add the party immediately. Then, the invitee can update their information later.
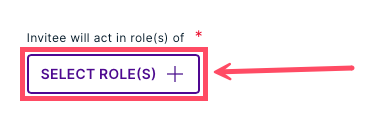
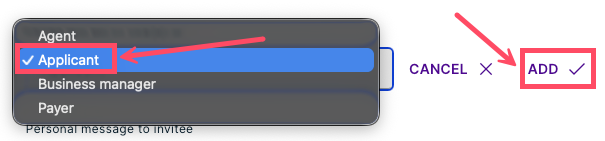
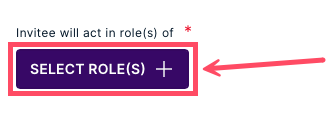
5. Select a role for the invitee by clicking SELECT ROLE(S). Choose a role from the dropdown, then click ADD.
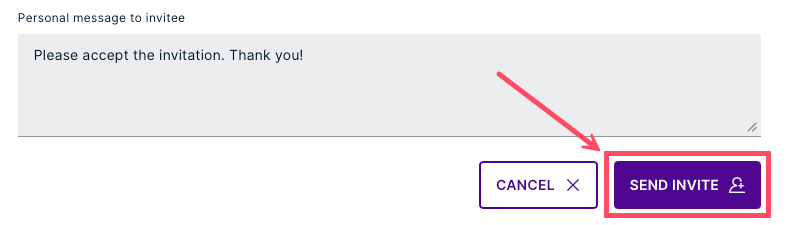
6. (Optional) Add a Personal message to invitee.
7. Click Send Invite.
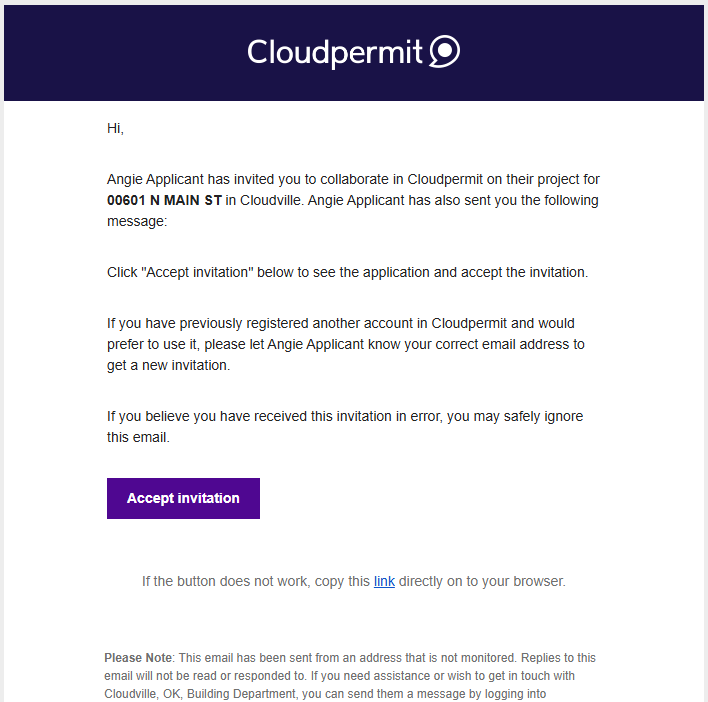
The invited party will receive an email with instructions to join the application. Once they accept the invitation and sign in to Cloudpermit, they can begin collaborating based on their assigned permissions.
Add a Party Manually
If an invitee does not have an active email address, you can add them to the application manually.
1. Under Additional parties, click ADD OR INVITE PARTY.
2. Check the box next to Input details manually and add the party immediately.
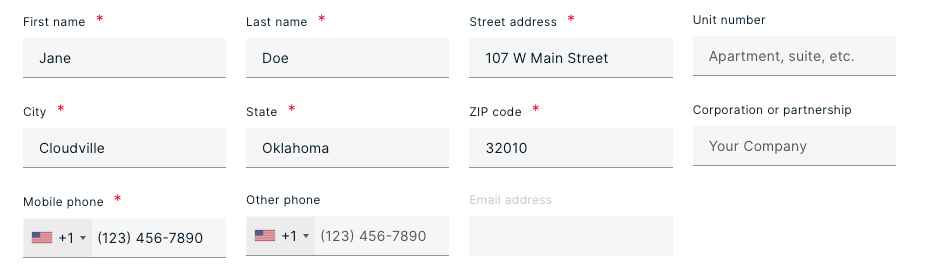
3. Enter the required information in the fields below.
4. Select a ROLE for the invitee from the dropdown. Then, click ADD.

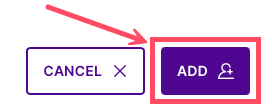
5. Click ADD again.
When a party is added manually, they will be considered active regardless of whether the invite is ignored, accepted, or declined. Note: If no email has been entered, no invitation will be sent.
Assign Roles
Each party can be assigned one or more roles within an application. Roles define a participant’s relationship to the application and determine their default level of access.
Note: Once you have invited a party via email, you can only remove them, not edit them. If they have already accepted the invite, they cannot be removed OR edited.
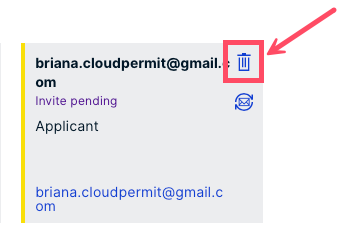
To assign or update roles:
1. Navigate to Parties to the Application section.
2. Select the Edit (blue pencil) icon on the party card.
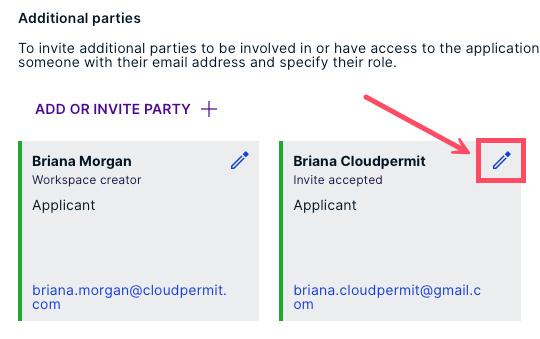
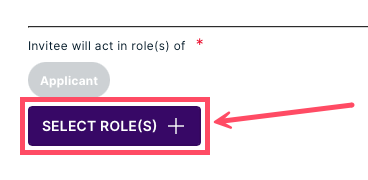
3. Click SELECT ROLE(S).
4. Select one or more roles for the party. Then, click ADD.
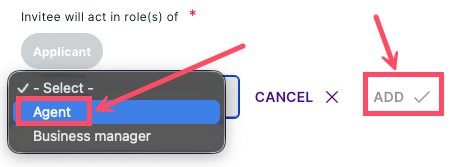
5. Add any additional permissions, if required.
6. Click CLOSE at the top of the module.
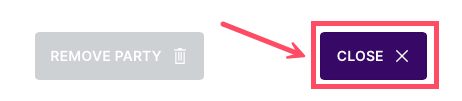
Your changes will be saved automatically.
Note: One party can have multiple roles within the same application.
Permissions
In addition to roles, applicants can grant specific permissions to allow parties to perform additional actions.
Default Access
Some roles include broader access by default:
· Applicant and Agent receive full access to the application, including the ability to submit it.
· Other roles, such as Designer, Property Owner, or Payer, have more limited access unless they have been granted additional permissions.
Note: Only the Applicant or parties who have been granted modification permission can edit party information.
Additional Permissions
Modify Application
This permission allows a party to edit information within the application workspace.
It does not allow the user to submit the application.
Add New Applications
This permission allows a party to create supplemental applications within the same project when additional permits or applications are required.
Fees and Payments Access
The Fees & Payments section is available for the following roles:
· Applicant
· Agent
· Property Owner
· Payer
This allows relevant parties to view invoices, payments, and other financial information associated with the application. Any party added to an invoice automatically gets Payer permissions but is not automatically assigned the role of Payer.
Manage Existing Parties
Applicants can update the list of collaborators throughout the application process.
Remove a Party
To remove a party:
1. Open Parties to the Application.
2. Find your desired party, then click the pencil icon.
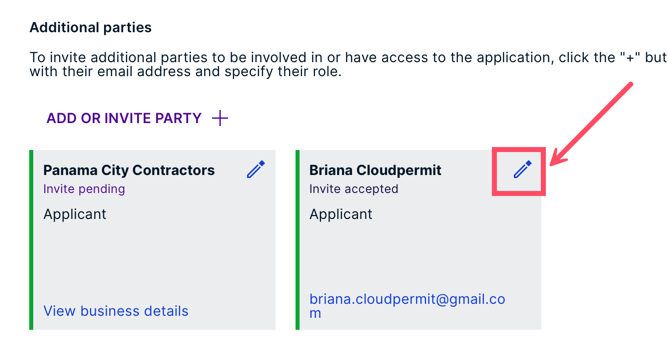
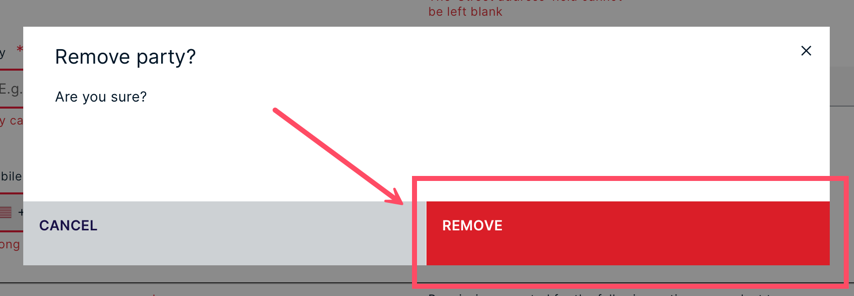
3. Click Remove Party. Then, click REMOVE to confirm your choice.

For more information about removing parties, see our article How to Remove Parties from a Workspace.
Resend an Invitation
If an invitation is still pending:
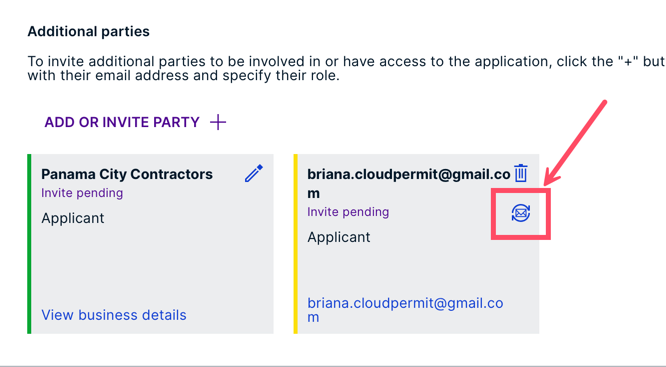
1. Under Parties to the Application, locate the pending invitation.
2. Click the Resend icon.
A new invitation will be sent to the invited party.
Was this article helpful?
That’s Great!
Thank you for your feedback
Sorry! We couldn't be helpful
Thank you for your feedback
Feedback sent
We appreciate your effort and will try to fix the article